
0. 前置条件
- Node.js >= 18.0.0
- Git + GitHub账号
- Markdown编辑器(Evan You推荐VSCode)
1. vitepress新建项目
# 新建文件夹 <blog-viterpess-github>可自定义
mkdir blog-viterpess-github && cd blog-viterpess-github

# 初始化package.json
npm init -y

# 安装vitepress
npm install -D vitepress

# 使用vitepress初始化项目
npx vitepress init
运行 npx vitepress init 后,会提示你输入一些配置信息,可参考如下:
┌  Welcome to VitePress!
│
◇  Where should VitePress initialize the config?
│  ./docs
│
◇  Site title:
│  My Awesome Project
│
◇  Site description:
│  A VitePress Site
│
◆  Theme:
│  ● Default Theme (Out of the box, good-looking docs)
│  ○ Default Theme + Customization
│  ○ Custom Theme
└
2. 撰写博客
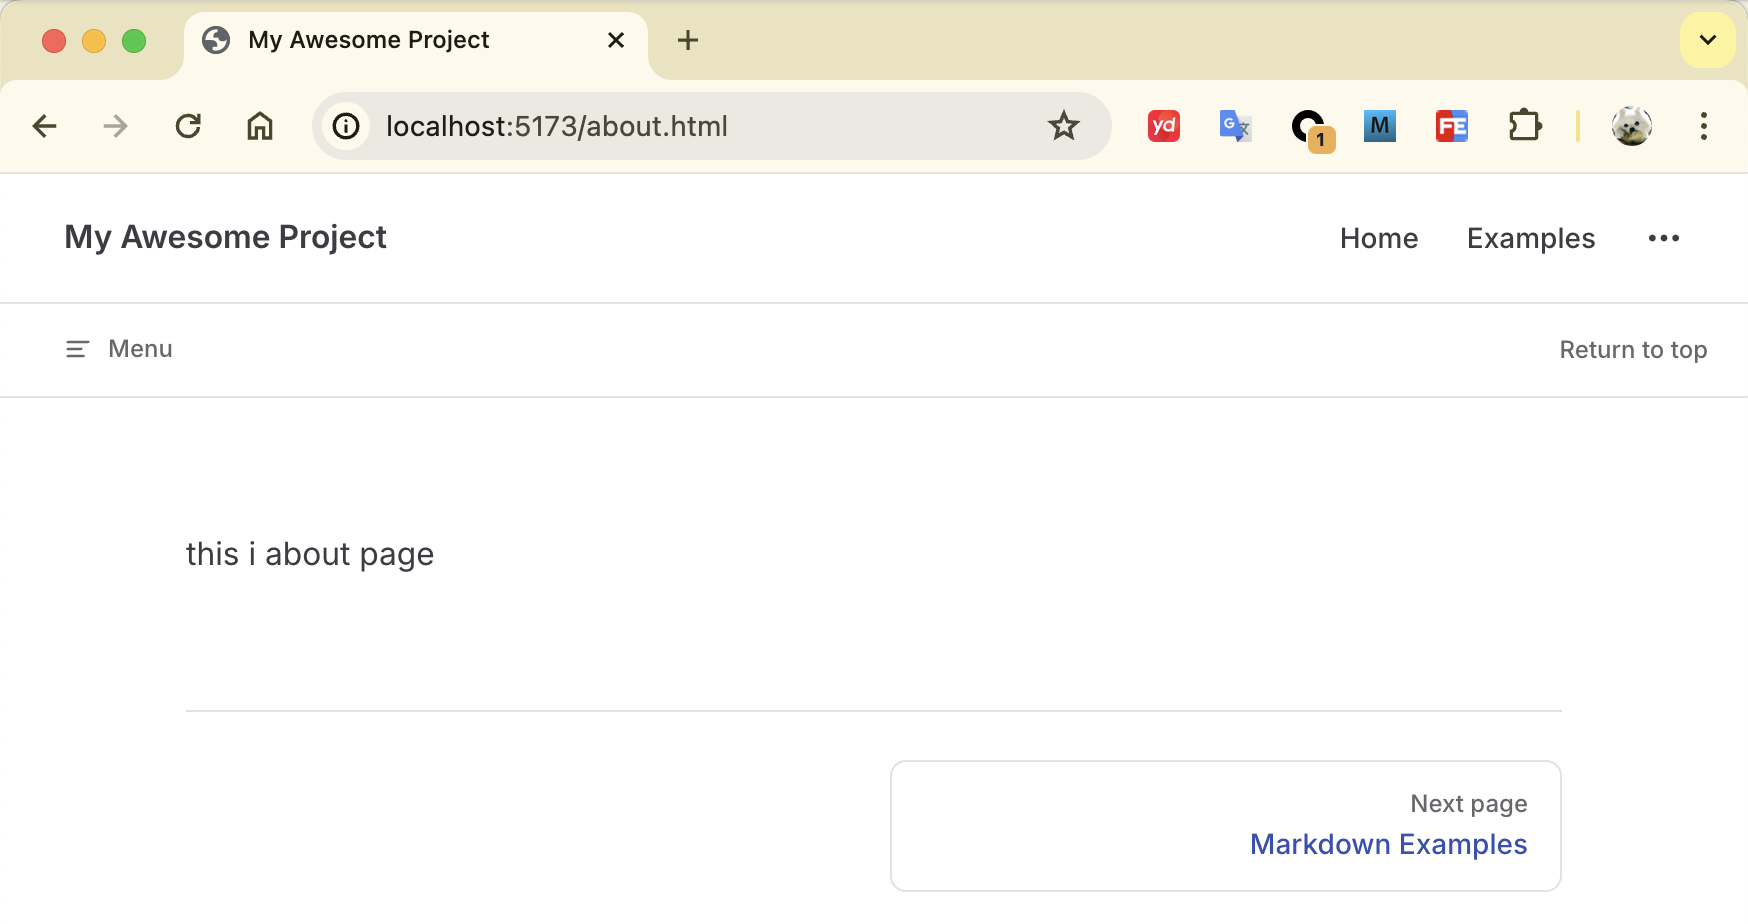
这里以撰写一篇博客为例,新建一个 docs/about.md 文件:
# 运行项目
npm run docs:dev

# 新建about.md文件
cd docs && touch about.md
echo "#this i about page" > about.md
访问 https://loclahost:5173/about.html 查看效果。
更多vitepress的写作技巧可参考 vitepress官网。
3. 部署到GitHub Pages
3.1 新建GitHub仓库
新建仓库,仓库名称一般是 <username>.github.io,例如我的GitHub用户名是 yaoo5,那么仓库名称就是 yaoo5.github.io。
3.2 添加 .github/workflows/deploy.yml 文件
# copy from https://vitepress.dev/guide/deploy#github-pages

# Sample workflow for building and deploying a VitePress site to GitHub Pages
#
name: Deploy VitePress site to Pages

on:
  # Runs on pushes targeting the `main` branch. Change this to `master` if you're
  # using the `master` branch as the default branch.
  push:
    branches: [main]

  # Allows you to run this workflow manually from the Actions tab
  workflow_dispatch:

# Sets permissions of the GITHUB_TOKEN to allow deployment to GitHub Pages
permissions:
  contents: read
  pages: write
  id-token: write

# Allow only one concurrent deployment, skipping runs queued between the run in-progress and latest queued.
# However, do NOT cancel in-progress runs as we want to allow these production deployments to complete.
concurrency:
  group: pages
  cancel-in-progress: false

jobs:
  # Build job
  build:
    runs-on: ubuntu-latest
    steps:
      - name: Checkout
        uses: actions/checkout@v4
        with:
          fetch-depth: 0 # Not needed if lastUpdated is not enabled
      # - uses: pnpm/action-setup@v3 # Uncomment this if you're using pnpm
      # - uses: oven-sh/setup-bun@v1 # Uncomment this if you're using Bun
      - name: Setup Node
        uses: actions/setup-node@v4
        with:
          node-version: 20
          cache: npm # or pnpm / yarn
      - name: Setup Pages
        uses: actions/configure-pages@v4
      - name: Install dependencies
        run: npm ci # or pnpm install / yarn install / bun install
      - name: Build with VitePress
        run: npm run docs:build # or pnpm docs:build / yarn docs:build / bun run docs:build
      - name: Upload artifact
        uses: actions/upload-pages-artifact@v3
        with:
          path: docs/.vitepress/dist

  # Deployment job
  deploy:
    environment:
      name: github-pages
      url: ${{ steps.deployment.outputs.page_url }}
    needs: build
    runs-on: ubuntu-latest
    name: Deploy
    steps:
      - name: Deploy to GitHub Pages
        id: deployment
        uses: actions/deploy-pages@v4
3.3 配置GitHub Actions
代码提交到Github仓库后,修改以下配置: Settings -> Pages -> Build and deployment -> Source 改为 Github Actions
3.4 测试
访问 https://<username>.github.io 即可看到你的博客网站。
4. 部署到自己的服务器(进阶版)
如果你有服务器和域名,也可将博客部署到自己的服务器上。
4.1 修改deploy.yml
name: Deploy VitePress site to Server

on:
  push:
    branches: [main]

jobs:
  build-and-deploy:
    runs-on: ubuntu-latest
    steps:
      - name: Checkout
        uses: actions/checkout@v4
        with:
          fetch-depth: 0
      - name: Setup Node
        uses: actions/setup-node@v4
        with:
          node-version: 20
          cache: npm
      - name: Install dependencies
        run: npm ci
      - name: Build with VitePress
        run: npm run docs:build
      - name: Deploy to my server
        uses: easingthemes/ssh-deploy@main
        with:
          ARGS: "-rlgoDzvc -i --delete"
          REMOTE_HOST: ${{ secrets.SERVER_HOST }}
          REMOTE_USER: ${{ secrets.SERVER_USER }}
          REMOTE_PORT: ${{ secrets.SERVER_PORT }}
          SSH_PRIVATE_KEY: ${{ secrets.SERVER_SSH_KEY }}
          SOURCE: docs/.vitepress/dist
          TARGET: /data/release/demo.com
💡 踩坑记录
这里的Deploy to my server很多文章使用的包是appleboy/ssh-action@master,但是我使用的时候报错cannot change locale (en_US.utf-8),怎么都解决不了。
后来换成了easingthemes/ssh-deploy@main就可以了。
4.2 Github 配置
上一个步骤中的 secrets.SERVER_* 需要在Github中配置,配置路径:仓库地址 -> Settings -> Secrets and variables -> actions -> Secrets -> New repository secret。如图所示:
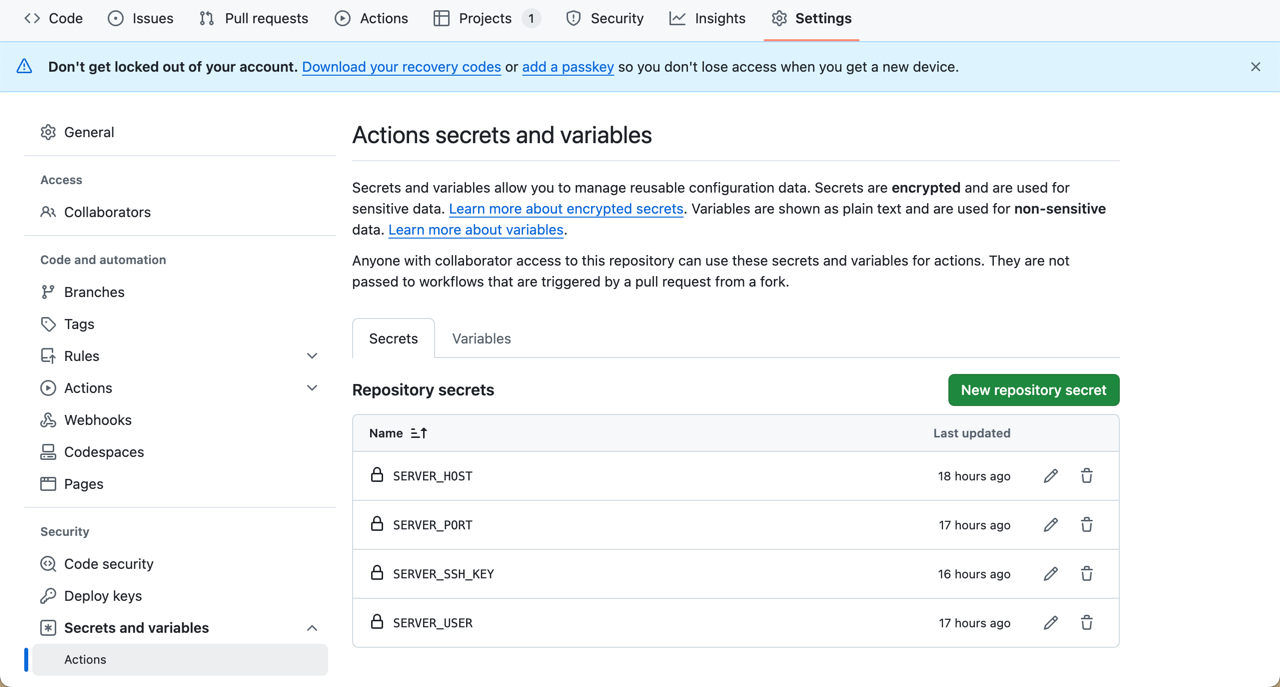
💡 说明
SERVER_HOST: 服务器IPSERVER_USER: 服务器用户名SERVER_PORT: 服务器端口SERVER_SSH_KEY: 服务器私钥(即下一步中生成的密钥)
4.3 服务器生成密钥
# 登录服务器
ssh root@<ip>
# 生成密钥
ssh-keygen -t rsa -b 4096 -C "
# 查看公钥
cat ~/.ssh/id_rsa.pub >> ~/.ssh/authorized_keys
# 查看公钥并复制到Github
cat ~/.ssh/id_rsa
# 修改权限
chmod 600 ~/.ssh/authorized_keys
chmod 700 ~/.ssh
# 修改配置【PubkeyAuthentication yes】,允许ssh登录,
vim /etc/ssh/sshd_config
# 重启服务
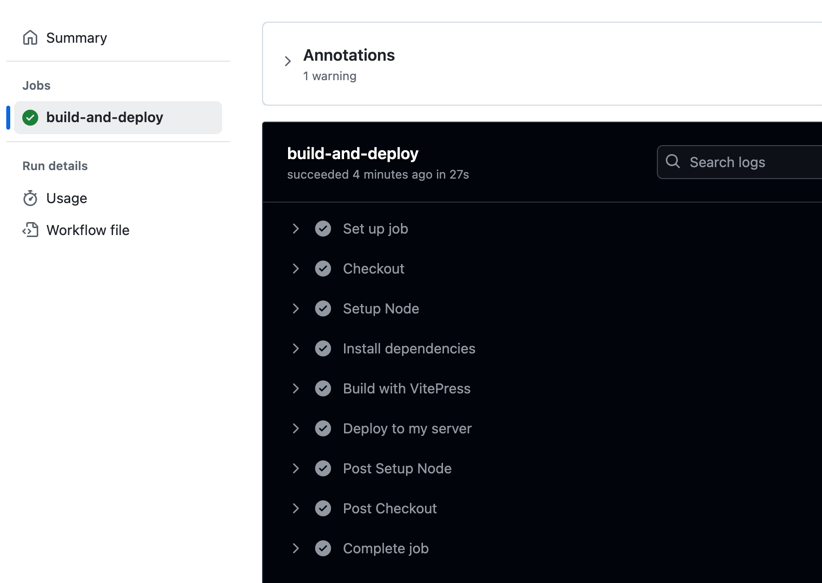
sudo service sshd restart4.4 测试
提交代码并合并main分支,如果Actions如图所示,则表示成功了。
此时你的云服务器产商可能会给你发短信,告诉你有异常登录。
4.5. nginx配置
以下配置仅供参考,具体配置根据自己的需求来。
server {
	listen  80;
	server_name demo.com;
	rewrite ^ https://$http_host$request_uri? permanent;
}

server{
    listen       443 ssl;
    server_name demo.com;

    ssl_certificate /etc/nginx/conf.d/your-ssl/demo.com_bundle.crt;
    ssl_certificate_key /etc/nginx/conf.d/your-ssl/demo.com.key;
    ssl_session_timeout 5m;
    ssl_protocols TLSv1.2 TLSv1.3;
    ssl_ciphers ECDHE-RSA-AES128-GCM-SHA256:HIGH:!aNULL:!MD5:!RC4:!DHE;
    ssl_prefer_server_ciphers on;


    index index.html index.htm index.php default.html default.htm default.php;

    access_log /data/var/nginx/log/demo.com.access.log;
    error_log  /data/var/nginx/log/demo.com.error.log;


    location ~* / {
	    root /data/release/demo.com/dist;
    }
}
5. 结语
至此,你的个人博客已经搭建好了,可以通过自己的域名访问了。酷哦!